
HOW TO MAKE A SOCK PUMPKIN
Decorate for Halloween with minimal materials.
Hi, guys! I have noticed that there haven’t been many DIY articles on the iHoot website recently, so I decided to make one.
Today, I am going to show you how to make an easy fun, and ADORABLE little sock pumpkin.
For this project, you will need: A plain, white sock, a rubber elastic band, a pair of scissors, orange and green paint, a black sharpie, and some cotton balls.
To start, tear your cotton balls into little pieces, so that they do not feel like balls of cotton, but rather something squishy and soft.
Next, fill your sock a little bit more than three quarters of the way full with the torn cotton. Secure the cotton by tying a rubber elastic band around the top of the sock.
Then, cut the finished edge off your sock so that it looks more realistic.
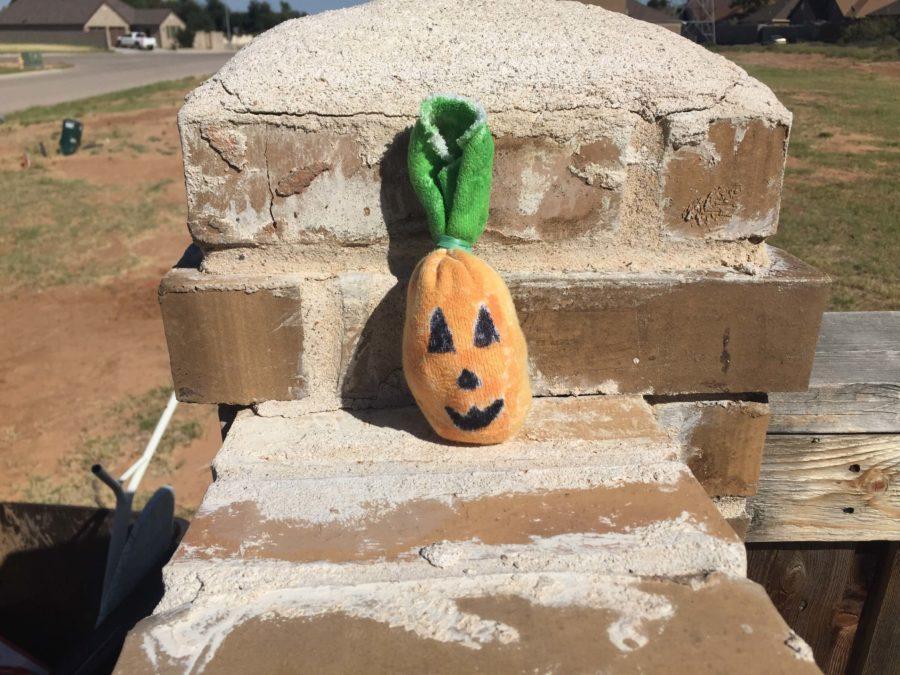
Now for my favorite part: designing your pumpkin’s face, and painting him. First, draw the design that you want on the bottom; stuffed part of your sock with your sharpie. Then paint the top part, or the stem green. Remember, you can always modify this to make it you own! Finally paint the stuffed part of your sock orange.
Wait for the paint to dry, and you have an adorable sock pumpkin!