

FALL DIY DECOR
When fall comes around, most people think about pumpkins, Halloween, Thanksgiving, yummy pumpkin spice lattes, and wrapping up in a huge cozy blanket. Fall also gives many people the chance to make fun DIY decorations for the home!
There are many ideas for seasonal DIY projects. You can make a small, adorable fall candleholder in 30 minutes or less, and under $5. There’s also a plethora of pumpkin carving and décor ideas that don’t take a whole lot of work. There is nothing better than getting into the mood for fall and doing some crafts to make the fall experience even better! Here are just a couple of ideas:
Melted Crayons on Pumpkin
- Get your materials:
- Blow-dryer
- Crayons
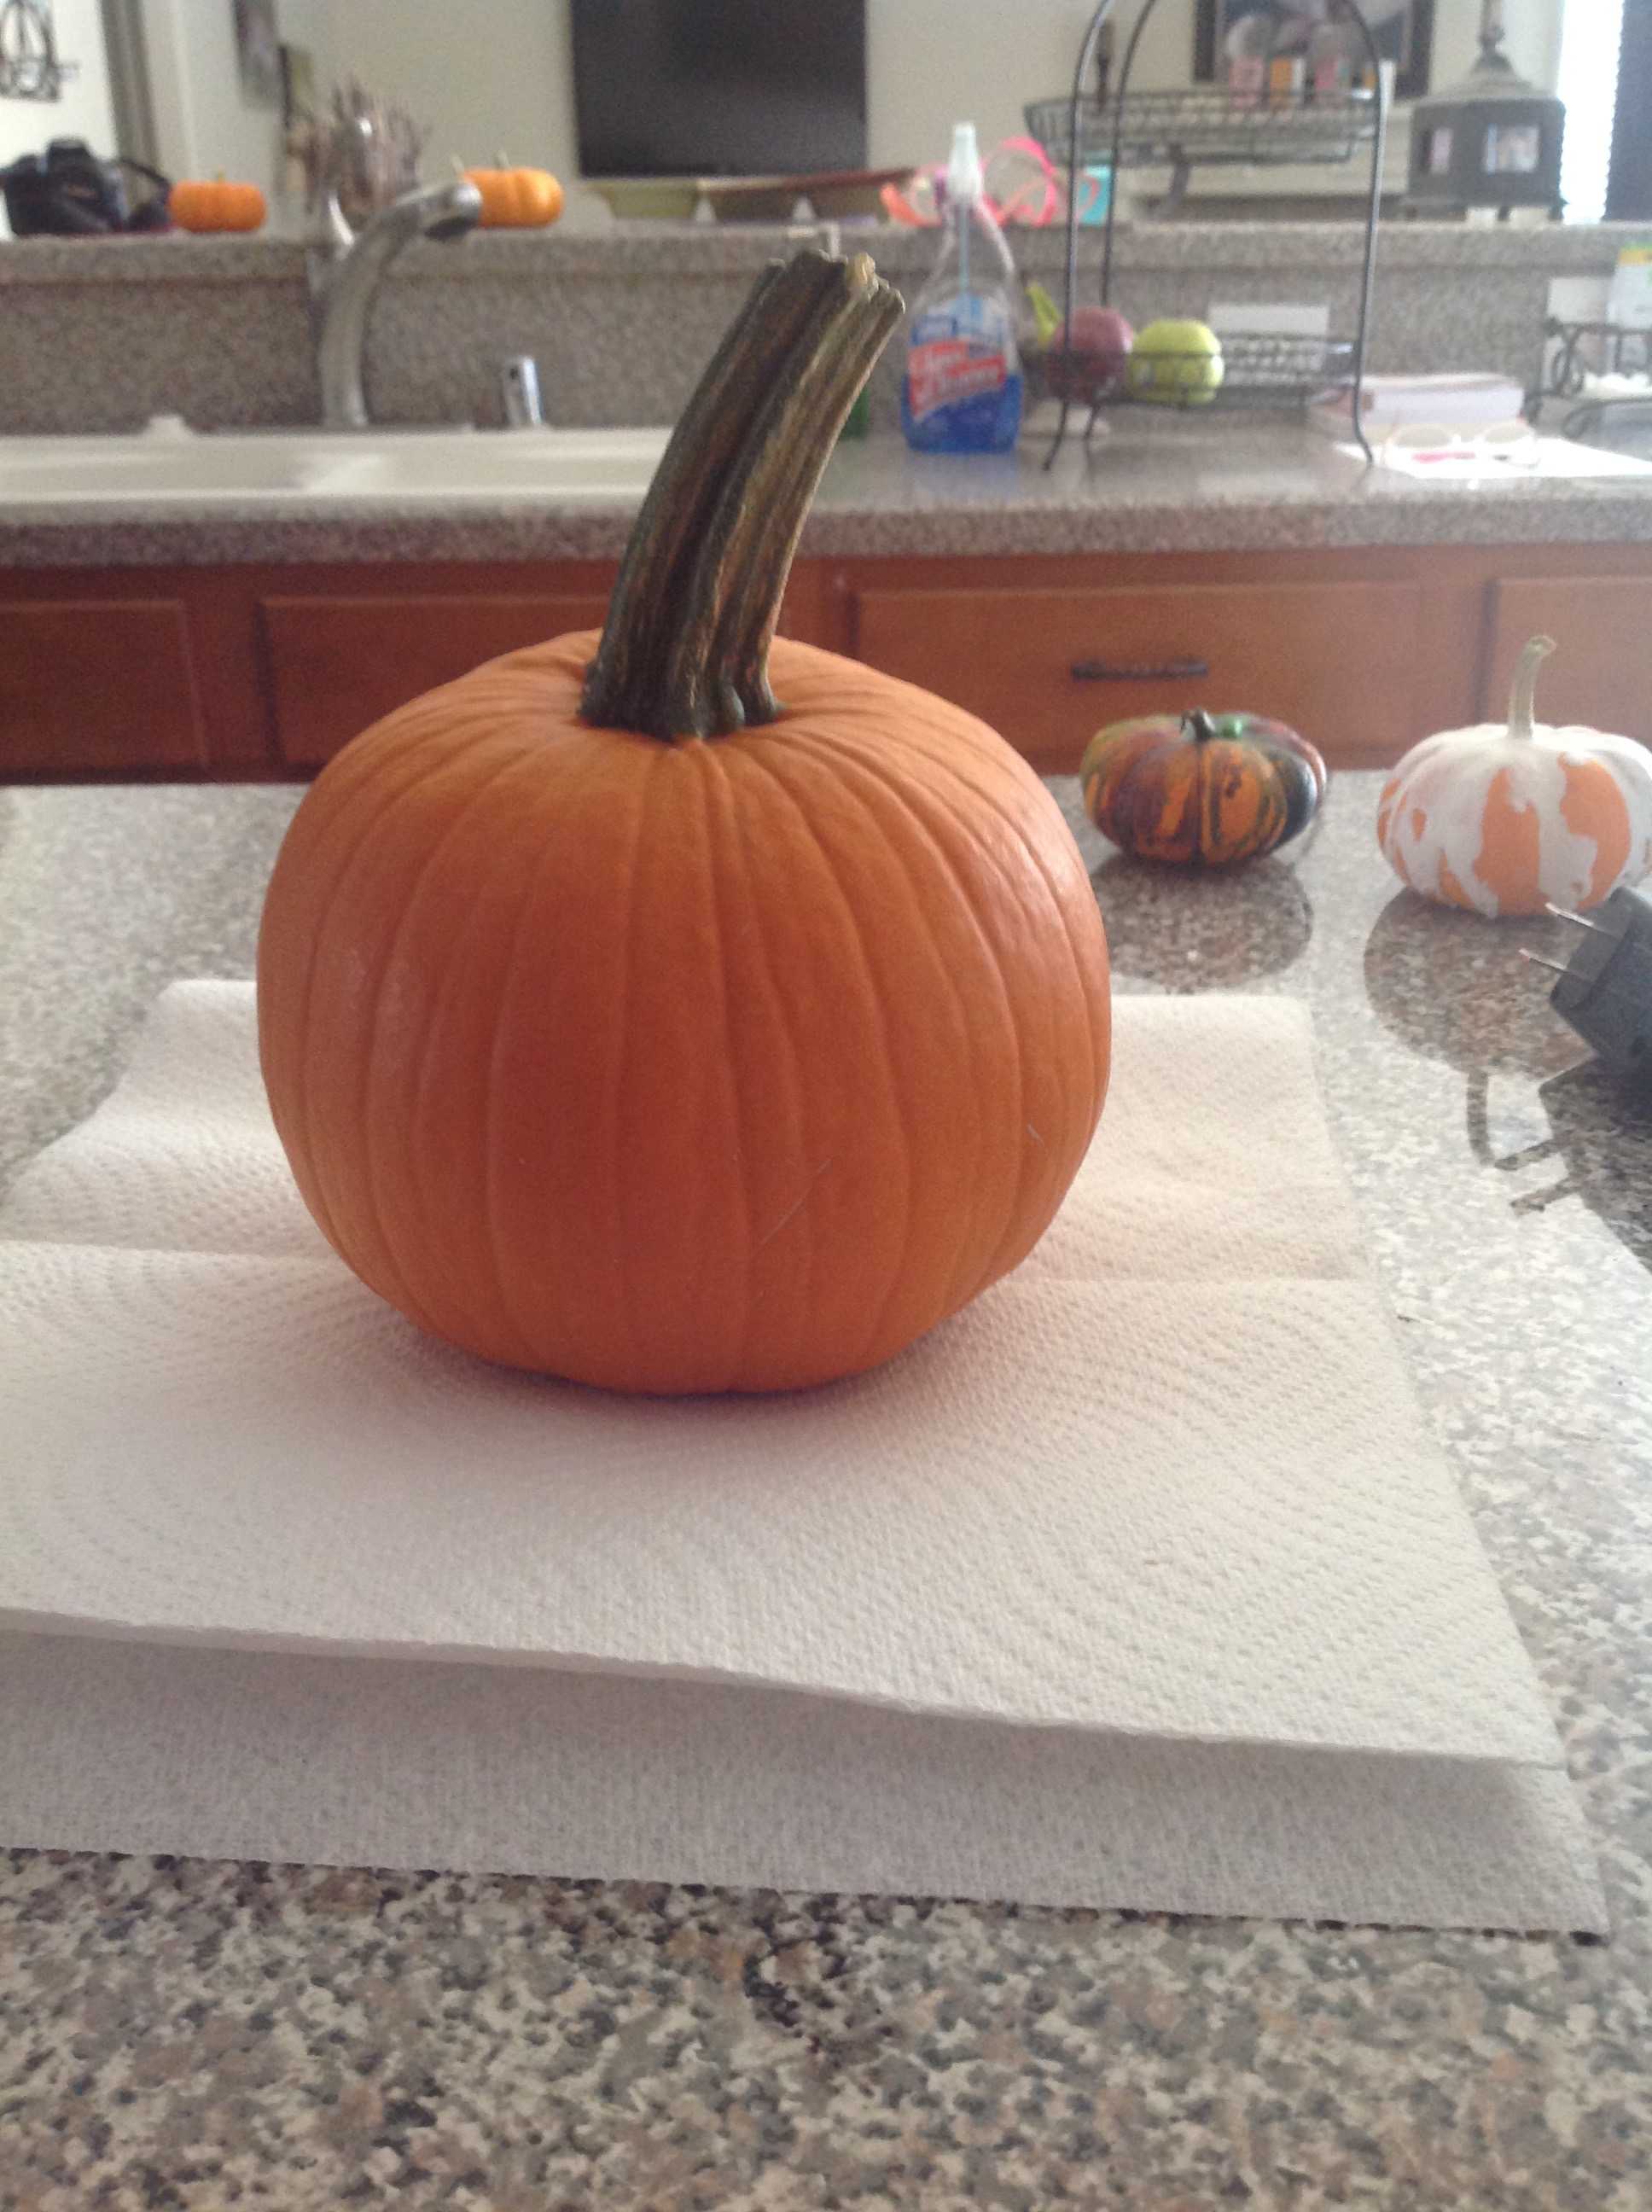
- Pumpkin
- Paper towels
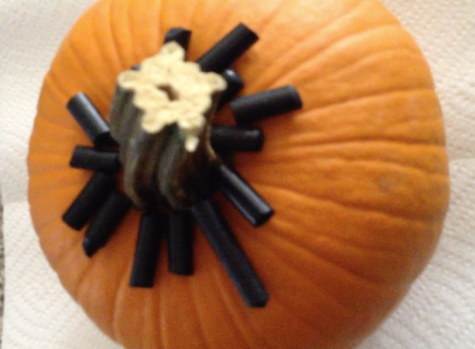
- Set paper towels under the pumpkin and start taking the wrappers off the crayons.
- Break crayons to whatever length you want and set them on top of the pumpkin.
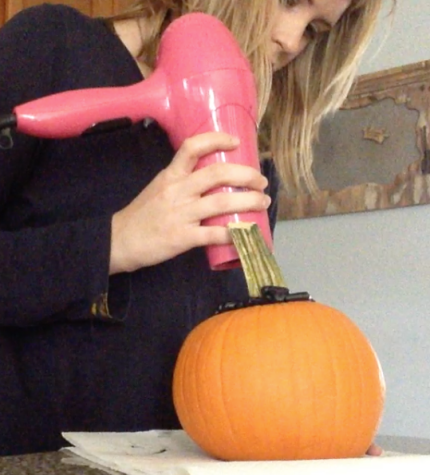
- Start blow-drying on low. Crayons falling off of the pumpkin during this stage are okay, just put them back. They might fall off multiple times until they melt and stick to the pumpkin.
- When you are ready turn the blow dryer on medium and then high to get the crayons to melt faster.
**DO NOT TURN THE COLD AIR ON THE BLOW DRYER. **
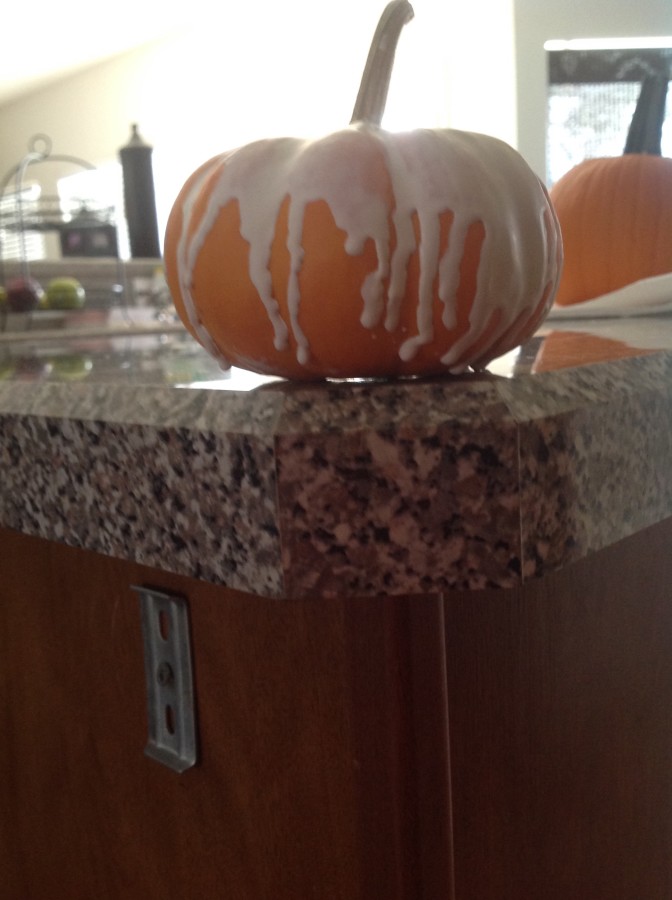
- When the crayons are melted the way you like, the drying process should happen quickly; if you would like, you can put it in the freezer for about 30 to 60 seconds to cool and dry.
Once you do all those steps, your pumpkin is finished. You can add sparkles, jewels, ribbon, or candy on your pumpkin to make it even more fancy! Your only limit is your imagination.
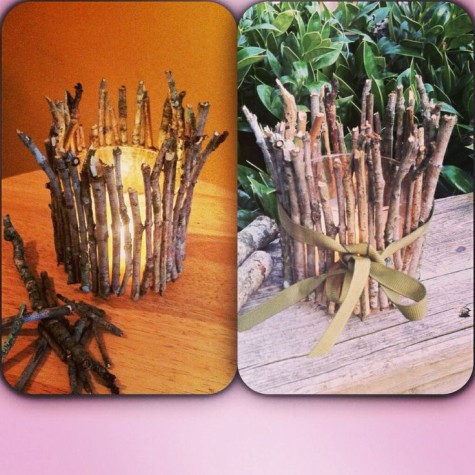
Fall Candleholder
- Get your materials:
- Sticks (backyard ones are fine)
- Candle holder
- Candle
- Hot glue gun and hot glue sticks.
- Get your hot glue gun hot and ready. Get your sticks and break them in half (or to the length you would like).
- Start hot gluing your sticks to the candleholder.
- Once the hot glue is dry, you can put your candle in the holder.
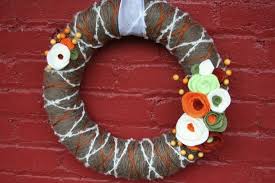
Fall Wreath
- Get materials (you can get these at your local grocery store, Michaels, or Hobby Lobby):
- Wreath Form
- Yarn
- Hot Glue Gun
- Scissors
- Flowers (fake ones last longer, but real ones may work as well), or other décor
- Wrap the yarn around the wreath form and tie a knot.
- Wrap and wrap and wrap over and over again, tightly.
- When the whole wreath is wrapped, cut the yarn, and glue your end to the back of the wrapped wreath.
- Hot glue your décor onto the wreath frame.
Have fun, and happy Fall DIY-ing! 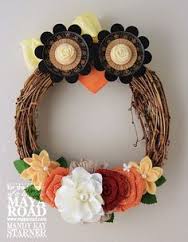


Hannah Faulkner • Oct 14, 2015 at 6:47 pm
This is excellent, Kirsten! Awesome job 😀