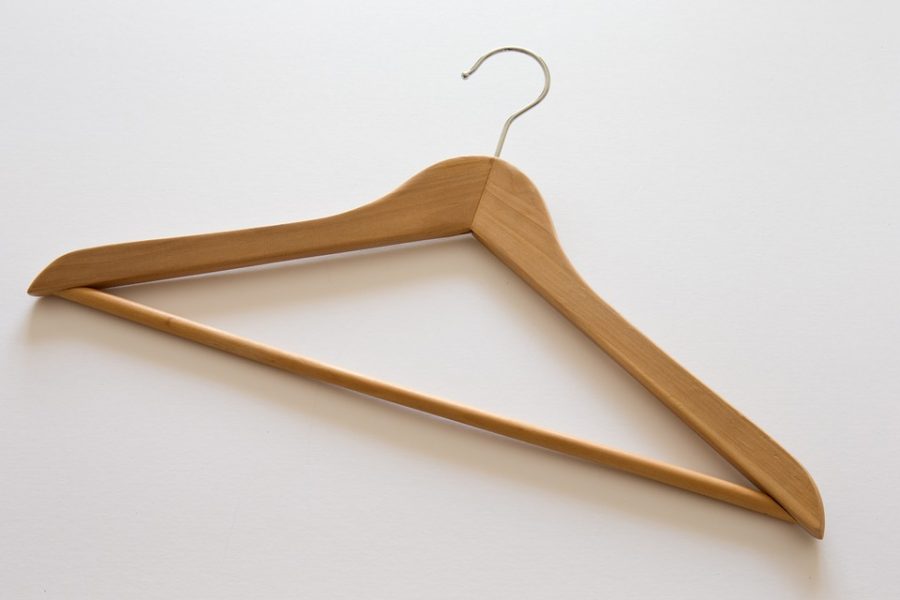
DIY HANGER
Spring may be officially here, but with this highly anticipated season comes the dreaded spring cleaning. The overwhelming amount of organizing is beginning to pile up, especially in the closet. But what if I told you there was a way to make cleaning up that mass of clothes fun? These four easy steps will upcycle those seemingly useless wire hangers into colorful, nonslip hangers for all your springtime apparel.
Materials:
– Wire hangers
– Yarn
– Tape
– Scissors
First, you need to decide how thick you want your hangers to be (using five at a time will mimic a standard hanger). Once you have figured out what thickness you want to use, stack the hangers together and use clear tape to keep them aligned. Next, you are going to tie yarn under the curve at the top of your hangers. Now you can start to wrap! You will need to make sure to pull the yarn tight each time you wrap it around the wire, which will be easily achieved if you keep the yarn in one bundle next to you. As you wrap, cut the clear tape strip by strip to avoid anything getting out of place. Finally, make sure you tie your yarn in a knot once you have finished wrapping to avoid anything coming undone. You can repeat these steps with as many hangers as you like, and you can use any colors or patterns you think will give your closet a colorful, spring feel!
These colorful, nonslip hangers will brighten the darkest closet, and will make the dreaded spring cleaning and organization a bit more bearable. Be creative with your color choice and patterns, and make sure to consider what clothes you will be hanging so that the hangers are not too thick or thin. Have fun making your new closet décor, and have fun this spring!


